Let’s be real here, folks. Whitetail deer pictures are more than just a hobby for hunting enthusiasts and wildlife photographers—they’re a passion. If you’re into capturing the majestic beauty of nature, then this article is your golden ticket. We’re diving deep into everything you need to know about 140 class whitetail deer pictures, from tips to techniques, gear recommendations, and even some jaw-dropping stats that’ll make your heart skip a beat.
When it comes to wildlife photography, whitetail deer are like the rockstars of the animal kingdom. They’re elegant, elusive, and downright stunning. And if you’re aiming for that 140 class whitetail deer picture, well, you’re not just chasing a shot—you’re chasing perfection. In this article, we’ll break down exactly what makes a 140 class whitetail deer so special and how you can capture its essence in a way that’ll blow your audience away.
But hold up, before we get too far ahead of ourselves, let’s talk about why this matters. Whether you’re a seasoned pro or just starting out, understanding the nuances of whitetail deer photography is crucial. This isn’t just about snapping a quick photo; it’s about telling a story, capturing a moment, and preserving the raw beauty of nature. So, grab your camera, your coffee, and let’s dive in.
- Candy Cane Punch The Festive Drink Thats A Holiday Musthave
- Derrell Brown Found The Untold Story You Need To Know
What Makes a 140 Class Whitetail Deer So Special?
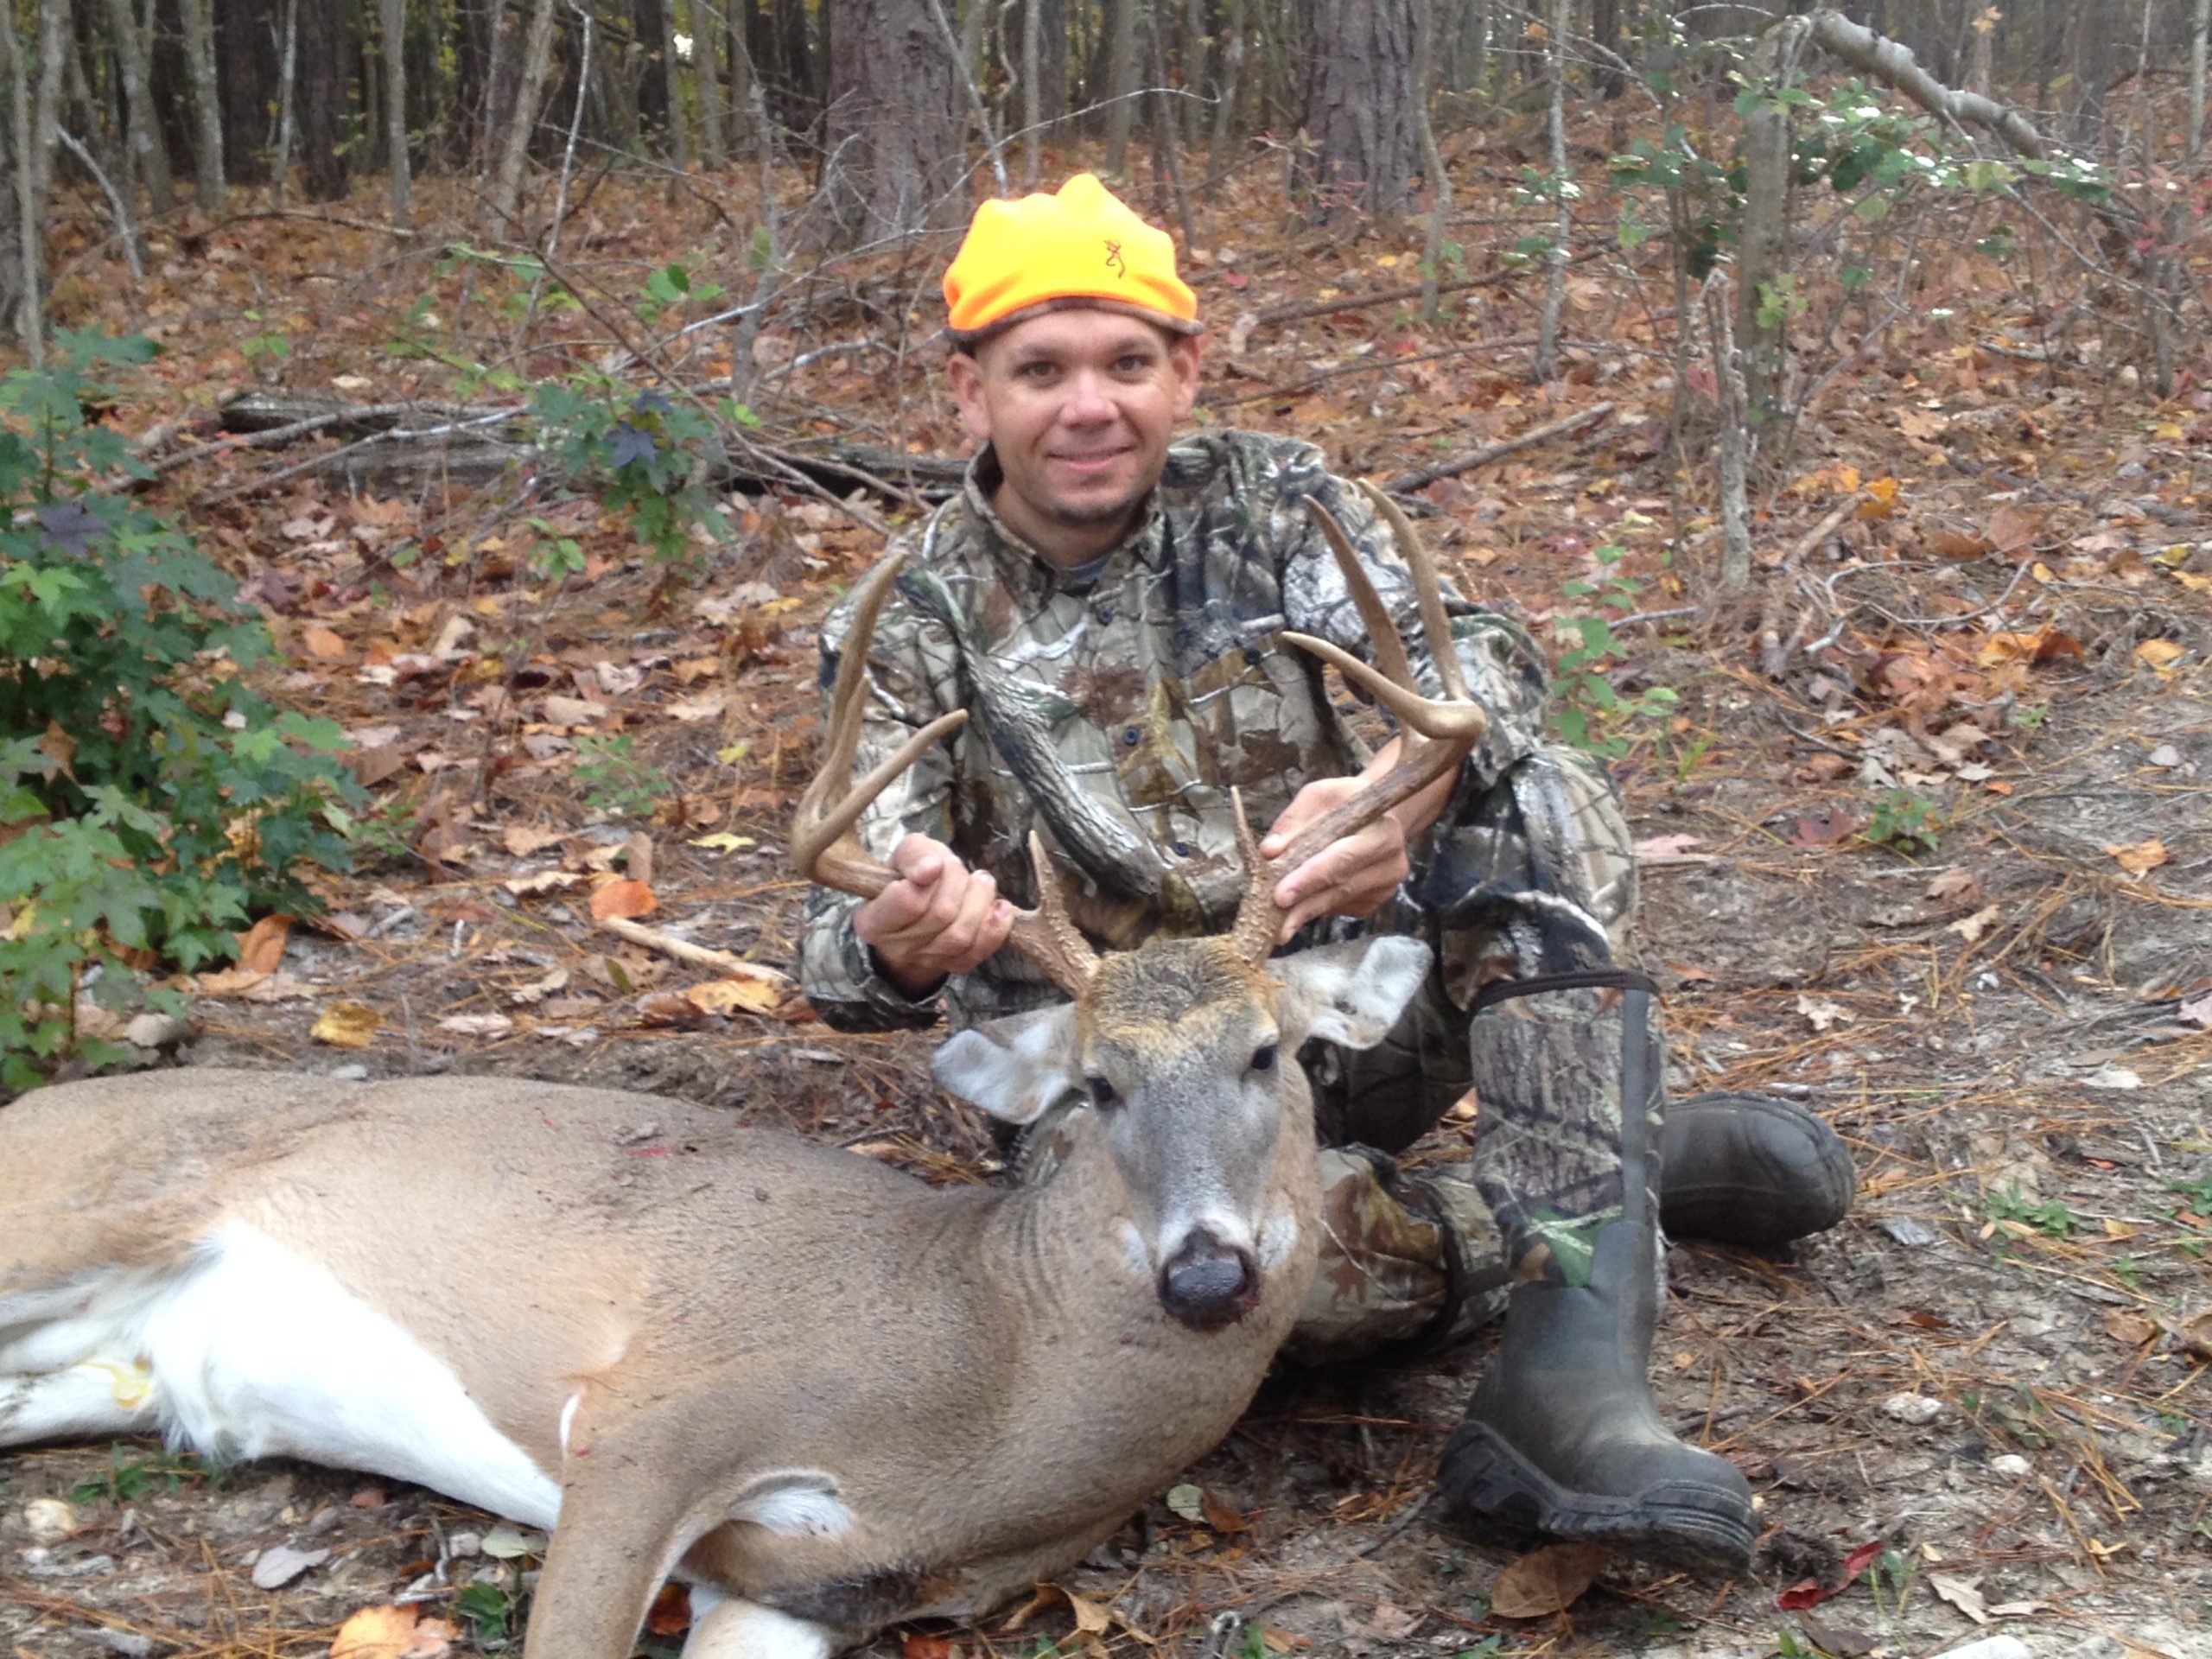
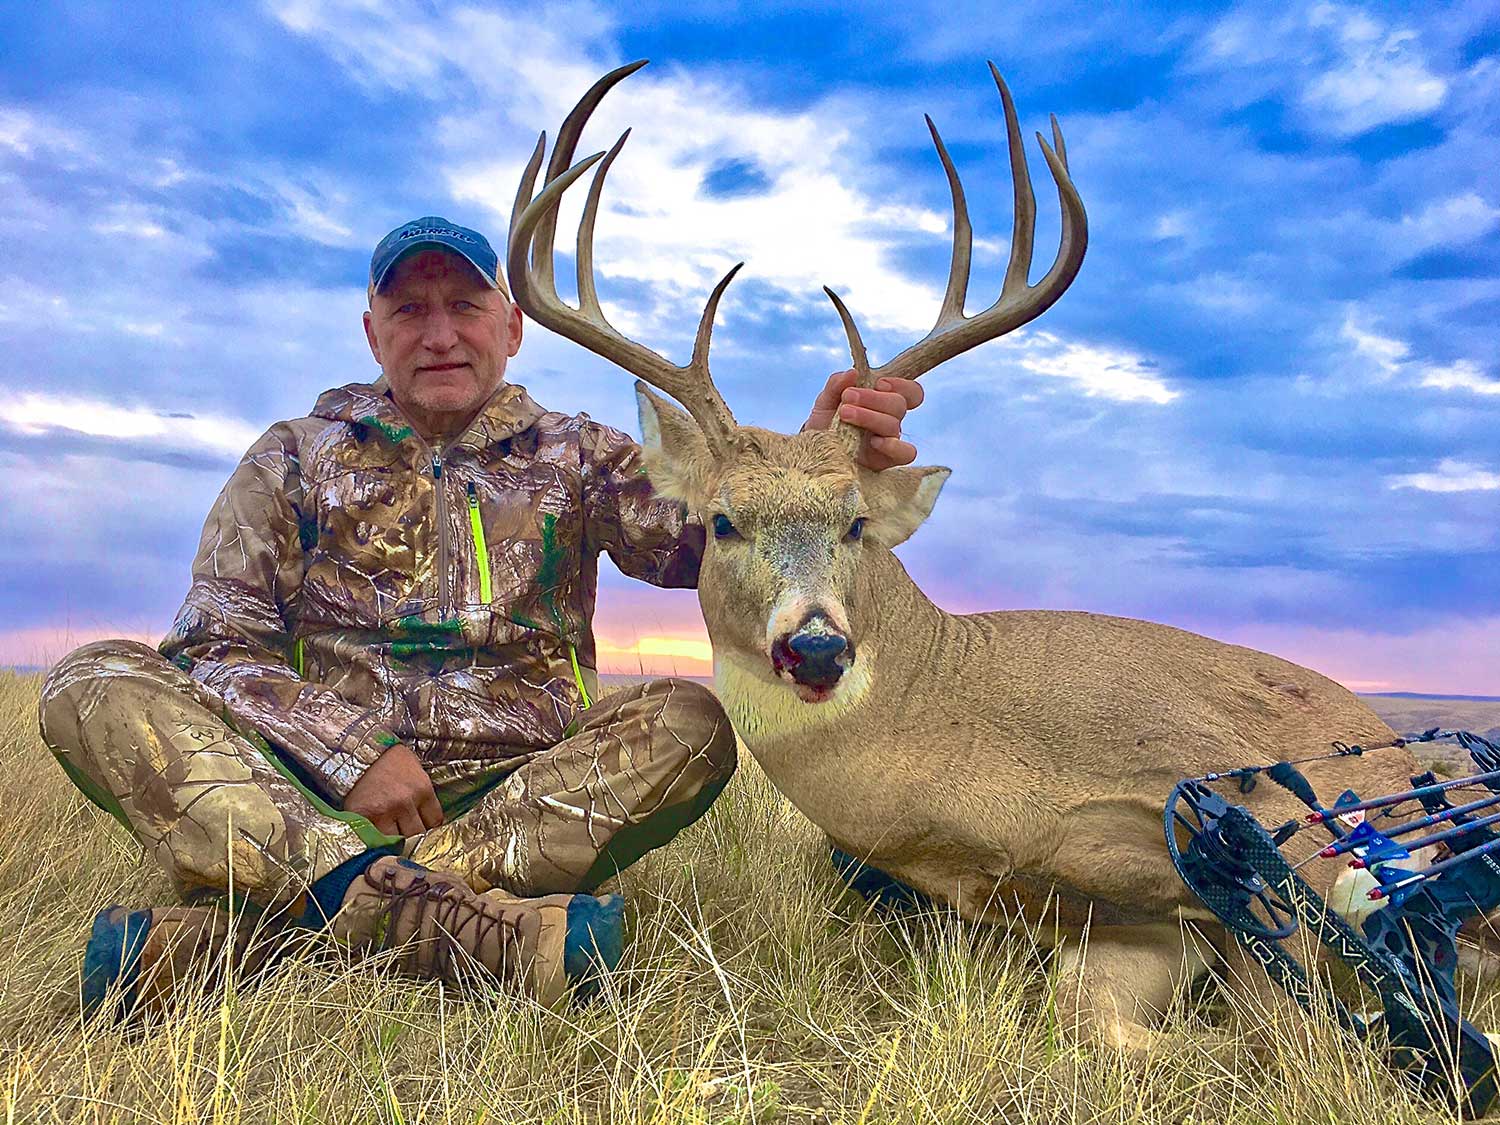
First things first, let’s talk numbers. A 140 class whitetail deer is no ordinary buck. In the world of whitetail deer scoring, the 140 mark is like the gold standard. It’s not just about size; it’s about symmetry, uniqueness, and overall presence. Think of it like this: if a whitetail deer was a car, a 140 class buck would be a Ferrari. It’s rare, it’s beautiful, and it’s something worth chasing.
Here’s the deal: the scoring system for whitetail deer is based on a variety of factors, including antler size, tine length, and spread. A 140 class buck typically has a rack that’s well-balanced, with long points and a decent spread. But it’s not just about the numbers. These deer have a presence that’s hard to miss, and capturing that in a photograph is where the magic happens.
So, why should you care? Well, if you’re a photographer or a hunter, landing a 140 class whitetail deer picture is like winning the lottery. It’s a badge of honor, a testament to your skills, and a moment that’ll be remembered for years to come. And trust me, once you’ve seen one in person, you’ll understand why they’re so coveted.
- How Much Does A Locksmith Charge To Open A Car Everything You Need To Know
- Wednesday Class The Ultimate Guide To Unlocking Your School Week
How to Identify a 140 Class Whitetail Deer
Alright, so you know what a 140 class whitetail deer is, but how do you spot one in the wild? This is where things get interesting. Identifying a 140 class buck isn’t as simple as just looking for big antlers. You’ve gotta pay attention to the details. Here’s a quick breakdown:
- Antler Size: Look for a rack that’s well-balanced with long tines and a decent spread.
- Symmetry: A 140 class buck will have antlers that are proportionate and evenly matched on both sides.
- Presence: These deer carry themselves with a certain confidence that’s hard to miss.
- Body Structure: A 140 class buck will typically have a muscular build and a regal posture.
Pro tip: Don’t just rely on your eyes. Bring a rangefinder or a spotting scope to get a better look. Trust me, it’ll make all the difference.
Essential Gear for Capturing 140 Class Whitetail Deer Pictures
Now that you know what to look for, let’s talk about the gear you’ll need to capture those epic shots. Sure, you could use your phone, but if you’re serious about 140 class whitetail deer pictures, you’re gonna want to invest in some quality equipment. Here’s what you’ll need:
- Camera: A DSLR or mirrorless camera with a good zoom lens is a must-have.
- Lens: Opt for a telephoto lens with a focal length of at least 200mm. The longer the better.
- Tripod: Stability is key when shooting wildlife, so don’t skimp on a good tripod.
- Memory Cards: Bring plenty of them. You don’t want to run out of space halfway through a shoot.
And let’s not forget about accessories. Things like lens filters, spare batteries, and a good camera bag can make all the difference. Remember, you’re not just taking pictures—you’re creating art. And art requires the right tools.
Tips and Techniques for Capturing Stunning Whitetail Deer Pictures
Okay, so you’ve got the gear, but how do you actually take those killer shots? Here’s where the real magic happens. Let’s break it down:
1. Patience Is Key
Wildlife photography isn’t a sprint; it’s a marathon. You’ve gotta be patient and willing to wait for the perfect moment. Set up camp in a good location and be prepared to sit tight for hours. Trust me, the payoff is worth it.
2. Know Your Subject
Whitetail deer are creatures of habit. Study their behavior, learn their patterns, and use that knowledge to your advantage. If you know where they’ll be and when, you’re already halfway there.
3. Lighting Matters
Golden hour is your best friend. The soft, warm light during sunrise and sunset creates the perfect ambiance for your shots. Avoid midday sun if you can—it tends to wash out the colors and create harsh shadows.
Common Mistakes to Avoid When Shooting Whitetail Deer
Even the best photographers make mistakes, but that doesn’t mean you have to. Here are some common pitfalls to avoid:
- Getting Too Close: Whitetail deer are skittish creatures. Getting too close will spook them, and you’ll lose your shot.
- Ignoring the Background: A cluttered background can ruin an otherwise perfect picture. Take a moment to frame your shot properly.
- Not Checking Your Settings: Make sure your camera settings are optimized for wildlife photography. Nothing’s worse than realizing your photos are blurry because you forgot to adjust the shutter speed.
Remember, practice makes perfect. The more you shoot, the better you’ll get. And don’t be afraid to experiment with different techniques and angles. Sometimes the best shots come from thinking outside the box.
Where to Find the Best Locations for Whitetail Deer Photography
Location, location, location. If you want to capture those 140 class whitetail deer pictures, you’ve gotta be in the right place at the right time. Here are some top spots to consider:
- National Parks: Places like Yellowstone and the Great Smoky Mountains are prime locations for whitetail deer photography.
- Wildlife Refuges: These protected areas are perfect for observing and photographing wildlife in their natural habitat.
- Private Lands: Some landowners offer access to their property for photographers and hunters. It’s worth reaching out to see if there are any opportunities near you.
Pro tip: Do your research. Knowing the local wildlife regulations and seasonal patterns can save you a lot of headaches down the line.
Understanding the Scoring System for Whitetail Deer
Let’s take a moment to dive into the scoring system for whitetail deer. It’s not just about the size of the antlers; it’s about a variety of factors that contribute to the overall score. Here’s a quick breakdown:
- Gross Score: This is the total score before deductions for asymmetry.
- Net Score: This is the final score after deductions.
- Factors: Antler length, tine length, spread, and symmetry all play a role in the final score.
For a deer to qualify as a 140 class buck, it needs to meet certain criteria. And while the numbers are important, don’t forget about the intangibles. Sometimes the most breathtaking shots come from deer that don’t quite meet the 140 mark but have that certain something that makes them stand out.
Post-Processing Tips for Whitetail Deer Pictures
So you’ve taken your shots, but the work doesn’t stop there. Post-processing is where you can really bring your photos to life. Here are some tips to keep in mind:
- Color Correction: Adjust the colors to make the deer stand out against the background.
- Sharpening: Use sharpening tools to bring out the details in the antlers and fur.
- Cropping: Don’t be afraid to crop your photos to improve the composition.
And remember, less is more. Over-editing can ruin a good photo, so use your tools sparingly. The goal is to enhance the natural beauty of the deer, not to create something that looks fake.
The Importance of Conservation in Whitetail Deer Photography
Let’s talk about the bigger picture here. As wildlife photographers, we have a responsibility to protect the animals we love to photograph. Conservation efforts are crucial in ensuring that future generations can enjoy the beauty of whitetail deer. Here’s how you can help:
- Support Conservation Organizations: Donate your time or money to groups that are working to protect wildlife habitats.
- Practice Ethical Photography: Respect the animals and their environment. Don’t disturb them or their habitat for the sake of a photo.
- Spread Awareness: Use your photos to educate others about the importance of conservation.
Remember, every action we take has an impact. By being mindful and responsible, we can help ensure that whitetail deer continue to thrive in the wild.
Kesimpulan
Well, there you have it, folks. Everything you need to know about 140 class whitetail deer pictures. From identifying the perfect buck to capturing that perfect shot, we’ve covered it all. But the journey doesn’t stop here. Keep practicing, keep learning, and most importantly, keep enjoying the beauty of nature.
And hey, don’t forget to share your photos with the world. Whether it’s on social media, in a gallery, or just with your friends and family, sharing your work is part of the fun. Who knows? You might just inspire someone else to pick up a camera and start their own adventure.
So, what are you waiting for? Grab your gear, head out into the wild, and start capturing those 140 class whitetail deer pictures. The world is waiting to see what you’ve got!
Table of Contents
- 140 Class Whitetail Deer Pictures: Your Ultimate Guide to Capturing the Beauty
- What Makes a 140 Class Whitetail Deer So Special?
- How to Identify a 140 Class Whitetail Deer
- Essential Gear for Capturing 140 Class Whitetail Deer Pictures
- Tips and Techniques for Capturing Stunning Whitetail Deer Pictures
- Common Mistakes to Avoid When Shooting Whitetail Deer
- Where to Find the Best Locations for Whitetail Deer Photography
- Understanding the Scoring System for Whitetail Deer
- Post-Processing Tips for Whitetail Deer Pictures
- The Importance of Conservation in Whitetail Deer Photography
- Kesimpulan
- How Much Does A Locksmith Charge To Open A Car Everything You Need To Know
- Best Coyote Calls For January Unleash The Hunt